A Jaycotts Post
Sweet Pea "In the Hoop" Machine embroidery designs.
A while ago I was fortunate to meet the Sweet Pea team and see their amazing designs close up.

Sweet Pea were invited by Brother UK to do a roadshow in the UK and Germany and we were very fortunate that Jaycotts was chosen as one of the few locations to host an event promoting their incredible in the hoop embroidery designs

Sweet Pea were invited by Brother UK to do a roadshow in the UK and Germany and we were very fortunate that Jaycotts was chosen as one of the few locations to host an event promoting their incredible in the hoop embroidery designs
 |
| Cutest Cupcake Collection |
Since then Jaycotts have been able to stock three of their designs to sell online and in the store.
If you have not come across Sweet Pea before then you are in for a treat. This is embroidery at its most exciting, the designs are mostly made entirely in the hoop,and what stunning designs they are!
The three designs on sale at Jaycotts at the moment are;-


The FARM ANIMAL BAG which is utterly delightful. It even contains soft toys. What an amazing gift this would be for a special child. I dare not make this one just yet until I have time to make a few of them for all the young children in my family.

And the Floral fantasy quilt which is on my to-do list. I will blog about this one in the new year ready for spring, as I have a few ideas of things I want to make for my home using these designs
 |
| This photo was taken by Marion Barnett |
First of all let me introduce you to the team. On the far left is Holly, and next to her is Allison. Allison is actually the creator of Sweet Pea Embroidery. She was looking for something new and exciting to make and as she couldn't find anything she started to produce free-standing lace earrings which she sold on market stalls.
So this is a very new company.
Next to Allison is Annette and on the far right is Emma.

Sweet Pea are unique in that they specialise in " in the hoop" Embroidery.
This form of embroidery is different to other forms of machine embroidery where a part made article is embroidered and then made into a garment or other item. With this method the actual piece of work is either fully or partially completed without removing it from the hoop!
The designs are available to purchase directly from them online so do look at the
Sweet Pea website But now a very limited number of places are now selling some of their exclusive designs - and happily Jaycotts is one of them!
For all these designs you need an embroidery Machine. Sweet Pea recommend Brother machines.
There is a wide choice of embroidery machines at Jaycotts and your choice is dependant on whether you want an embroidery only machine or a machine which does both sewing and embroidery. These machines sew normally but easily switch to an embroidery machine at the touch of a button.
My own machine is embroidery only because I do also have a fantastic Brother sewing machine
My Embroidery machine , pictured above, is reviewed by me on my blog, Brother innov-is 800e
Also read my blog post reviewing the BROTHER innov-is VQ2 which is a machine which not only produces amazing machine embroidery but is a top end sewing machine too.
Take a look at the machines on offer at Jaycotts Brother. Sewing and embroidery machines and for more information, or to arrange a visit where you can try a few out give them a call on 01244 394099 during office hours.
There are machines to suit your requirements and your budget and after care can be arranged for some machines with Melanie from Brother. New machines are added to the range all the time so the choice just gets better and better.
Sweet pea have a terrific Facebook page by the way, with a massive following
Sweet Pea on Facebook you can show your own sweet pea makes and enter into their competitions. There is a monthly sew-along with prizes to be won.
There is also a quilt block of the month.
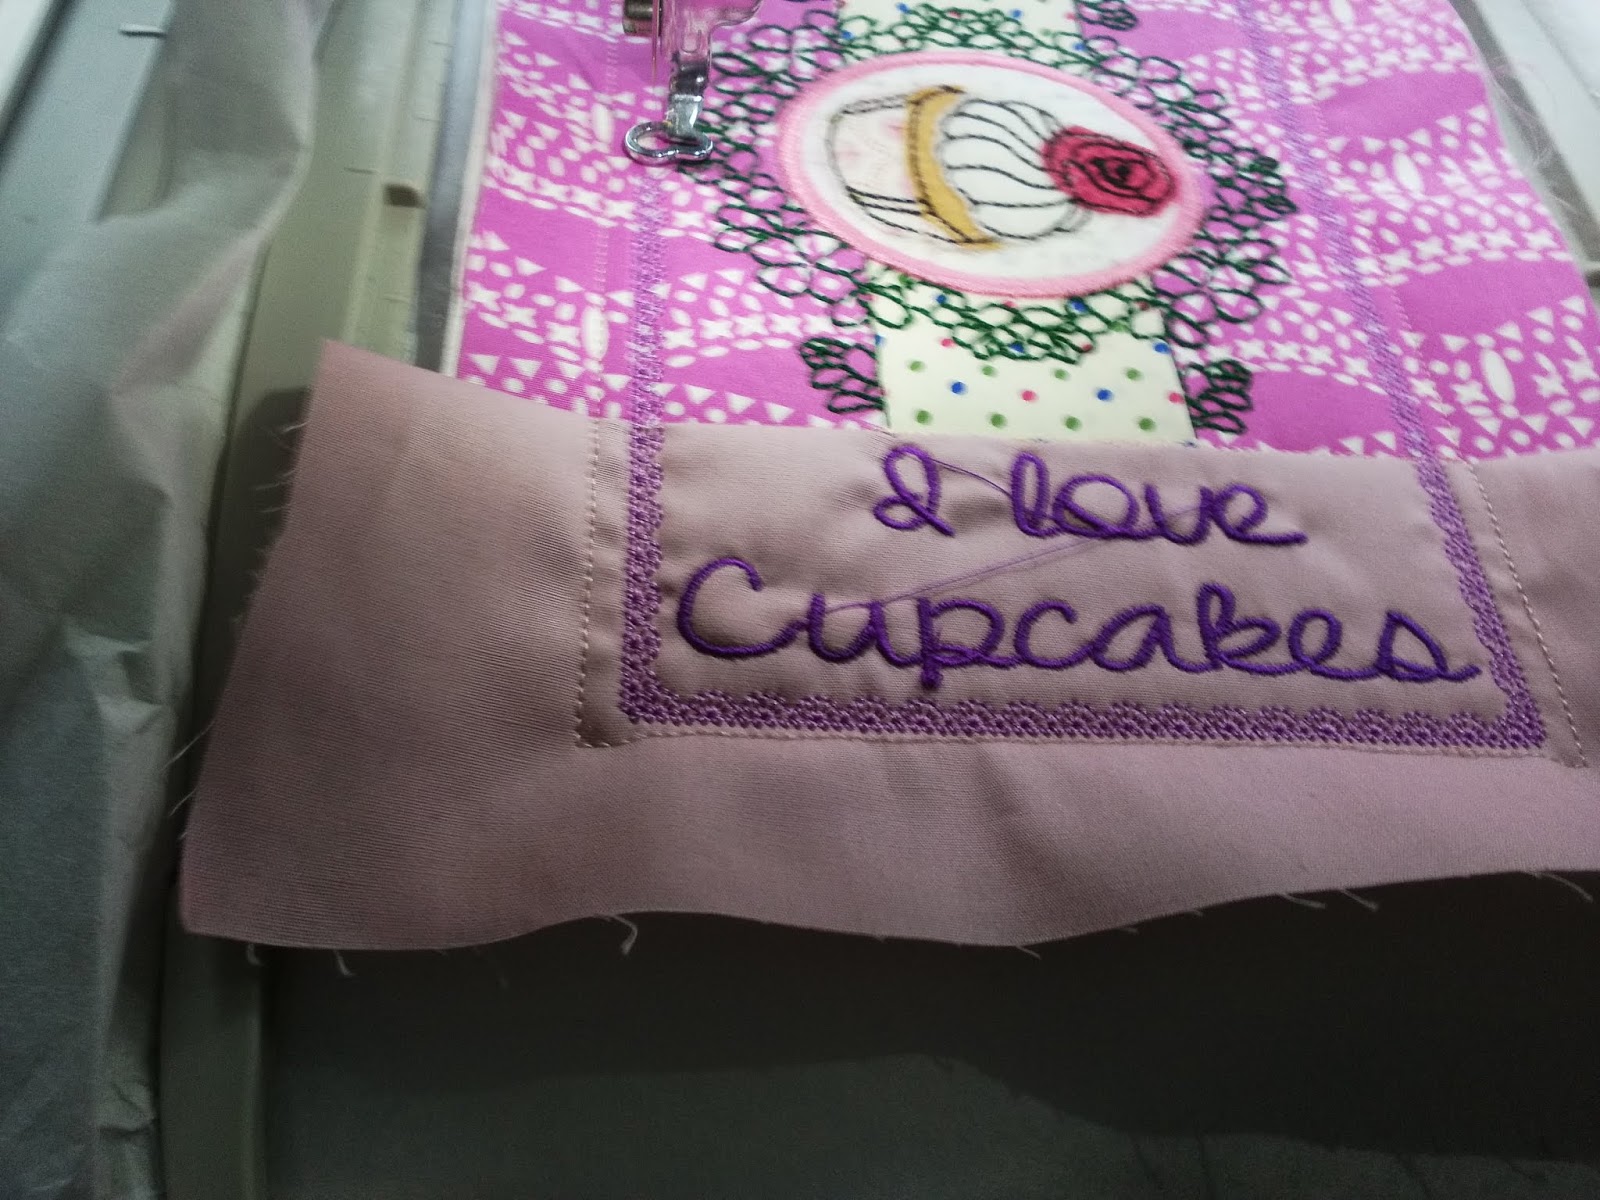
The cutest Cupcake collection

If you are looking for gifts then this is perfect. If your recipient owns an embroidery machine then the CD is the perfect choice. But if you love to give handmade as gifts as I do then this collection, or even just one or two items from it would be perfect.
Each of the design comprises of a full set of instructions which you can either print or open on your computer and follow them off there. The instructions are very comprehensive and easy to follow with photographs and text to show you exactly what you need to do step by step
.There are options for different hoop sizes. So, to get started put your CD into the computer and open the files.
You can choose if you want to print your instructions as I prefer, or if you have room for your computer next to your machine you can follow the instructions from there.
The part which needs to go onto a pen drive is marked "pes" file. Once you have found that click on it, and you will find that it will be in the correct format for your Brother Embroidery Machine. (There are options for other makes )
When you have transferred the .pes file to your pen drive insert it into your embroidery machine.
You then need to scroll through your designs until you find the one you want, if you are like me you will have quite a few embroidery designs on your pen drive!

The mug rug
I am using Quilting Fabrics from Minerva fabrics throughout.
The mug rug is the easiest design to start with. It comes in three sizes, the finished dimensions being 5x7" 6x10" and 7x12 . The ones I have made for now are the smallest size but I intend making the larger ones too.
The mug rug requires only one hooping and it is completely finished requiring only a few centimetres of hand sewing to close where the mug rug is turned out the right way. It is a great design for anyone new to this type of embroidery
This is the design for the Mug Rug shown in the display on my embroidery machine. There are three different sizes so choose the one you want and prepare the hoop by inserting your tear away stabiliser Gunold
In addition to stabiliser each design needs cotton fabric which is widely available and you also need wadding Vilene Volume fleece but don't worry about ironing it on as it is not necessary for these designs

To start, prepare your fabric and lay it out so that you know which piece is which. The measurements for each size are given on the instructions. The beauty of these designs is that you can choose your own colours and personalise your designs to your own colour scheme.
Cut your wadding out to the measurements given .

On the instructions, every single step is explained very clearly and if by any chance you just cannot understand a step you can contact Sweet Pea via the website or Facebook and they will be happy to help.
This is the placement for the cupcake, I have already stitched the background strips in place.

The cupcake is built up layer by layer and you do need to take the hoop out and trim around the shapes as you attach them. This doesn't take long.
You will need a quality pair of Embroidery scissors to cut around the shapes close to the stitching. For larger areas Duckbill Applique scissors are extremely useful.
The design is progressing and it amazes me that the entire mat is completed without removing it from the hoop at all.

Even the backing is attached in the hoop by stitching it right side down on top of the design.
If you are concerned that the process of making these is difficult, then don't be. Your machine automatically takes you from one step to the next and tells you when to change thread.
Do use the colour of embroidery thread to match the area you are stitching, and not necessarily the colour shown on the machine display.
There are a lot of choices of embroidery thread, if you don't have any then I suggest starting with a box of assorted threads then you can add more colours as you need them Boxes of embroidery thread Madeira also have some beautiful metallic and variegated threads Madeira embroidery threads

I have now finished my mug rug and it has been taken out of the hoop. Remove your tearaway stabiliser and trim the wadding very close to the stitching line.
This is the inside of the mug rug, it needs to be turned right sides out.

You will find that when you are stitching a gap is left along one side which is
Used to turn the mat right sides out.
Trim the seam allowance and cut across the corners, leave a larger seam allowance at the gap to enable you to close the seam easily.

You will need a point turner or a chopstick to push the corners out.

The Napkin holder
This comes in two sizes, 7"x 8•75" and 10•5" x 10•5"

Firstly cut your fabric and wadding out as before. Remember that you need two sides for the top and a larger piece for the back.

Follow the instructions as before. You will need to make two separate top pieces, and
you need your regular sewing machine to finish the napkin holder. Pin or clip the tops to the bottom, right sides out and matching your stitching lines carefully. Then machine stitch close to the edge all the way round.

I cut out a 3" wide piece of fabric more than long enough to fit around the outside. Pressing it in half wrong sides together.
Cutting measurements are given in the instructions.

The strip is stitched to the edges following the very easy to understand tutorial which forms part of the instructions. You do need to mitre the corners but this is explained very simply. You might find more easier to hand stitch the corners before stitching in the ditch after the binding has been folded to the back of your work.

So please don't worry about how you are going to apply the binding around the edge as there are step by step instructions to guide you, and the way it is explained is incredibly easy to follow. This is a copy of part of the instructions showing how to fold the binding.

The next thing I must do is to make and embroider my own napkins, but for now these paper ones will have to do.
The napkin holder can be used flat...

..... Or it is capable of standing when folded over .
The tea towel holder
Just one size for this, and I love it. There is even a ribbon hooped inside to drape your tea towel over.
This is so easy to make. The back is made first and then new fabric is put into the hoop to make the front.the linings are attached to both pieces.
The back and front are then stitched together with a piece of ribbon sandwiched between the front and back lining to hang your tea towel over.
It even sews a buttonhole so that the holder can be hung over the oven door handle.

The edge is bound in the same way as the napkin holder . You do not need to cut your binding for either piece on the bias as it is not going round any curves, so use the selvedge as a guide.

Fold it around your oven door handle to find the position for the button and sew it in place with button thread.
The holder stays put when you want to use your towel, there is a loop inside to hang the towel over.
My collection so far

So, I made two mug rugs , one tea towel holder and a napkin holder. I am still making more mug rugs and some napkins and also some more of this collection for gifts. I also want to make the pot holders, then my kitchen is nicely kitted out.
They make superb gifts, and you know that nobody else will have one just the same .
If your friend has an embroidery machine the software itself will make a very welcome gift.

The potholder


The basics are just the same as the mug rugs and tea towel holder, you build up each end of the pot holder bit by bit . The only difference is that a longer piece needs to be attached between them.
For some of the embroidery I chose to use some of these Variegated threads by Madeira they are so beautiful don't you think? They come in lots of colours . I also like these Potpourri by Madeira they have a subtle speckled effect.
There are other interesting threads, which I confess I have not tried yet, for example this one glows in the dark! Sulky Glowy embroidery thread .and this one looks fascinating Sulky Solar embroidery thread this changes colour in sunlight! Who said embroidery was boring!

The pieces which form the pockets to put your hands in are sewn on top of the base "sandwich" of two layers of fabric with the thermal wadding in between.
The edges then need to be trimmed ready for the binding.

The binding has been stitched onto the right side - don't worry there are step by step instructions - and I have mitred the corners ready for sewing.

I am also making another set as a gift for a friend. These are so pleasurable to make.

These are all the three designs available from Jaycotts. The price today for each design is £19•50 which is very reasonable. For that you get the embroidery software to download and comprehensive instructions to help you.
They are very very addictive so be warned! The machine really does all the work for you,. You just need to change thread and add various pieces of fabric and the design is sewn for you. Some basic hand sewing is needed to finish them off.
There is a huge choice of embroidery machines to consider and if you are considering one it is worth talking to the very friendly staff at Jaycotts who will help you to make the best choice for your needs.
Contact Jaycotts
For enquiries about any products - sewing and embroidery machines, haberdashery, patterns and anything else sewing related Contact Jaycotts via the online contact form by telephone or by calling into their Chester showroom.
The telephone number is 01244 394099
For sewing queries please contact me via the contact form on my blog or Jaycotts will pass a message on.
Lastly a huge thank you from me to everyone mentioned for including me in this very special event.
These are definitely not the last Sweet Pea designs I will be making
Angela
#sewangelicthreads
More about the fabric and where else I used it.
The majority of the fabric used was from a box of Art Gallery Fat Quarters There are lots of colour combinations, I used the Vibrant Violet edition . The quality is superb as you would expect with a top brand such as Art Gallery

You need to wait until 24th November to read my MCBN post unfortunately, but here's a preview ... You can order the fabrics now though
I have a blog post over on Minerva Crafts showing how I also used them to make a fabulous bag and accessories. Fat quarter Ideas from the Art Gallery Master Box
Although the box seems expensive just look at all the things I made with it, two whole blog posts full of lovely things.

Do please read my blog post on MinervaCrafts and see how I made this lovely Bag, purse and card holder with key fob.
Extra pieces of fabric were Quilting fabric there is so much choice at all prices and in all colours patterned and plain.
Thank you again for reading this Sweet Pea blog post and for hopping over to Minerva and reading my Bag post. The link to it is
I do appreciate your support. Fat quarter Bag project
Please sign up for emails - you will be sent each blog post as I publish it with no spam. You can then print it easily to refer to. I always give links to the products I use so that you can use them too if you want too. You may be surprised and discover something new.
The link to this YouTube video is Cupcakes and Bags
Thank you again for reading this Sweet Pea blog post and for hopping over to Minerva and reading my Bag post. The link to it is
I do appreciate your support. Fat quarter Bag project
Please sign up for emails - you will be sent each blog post as I publish it with no spam. You can then print it easily to refer to. I always give links to the products I use so that you can use them too if you want too. You may be surprised and discover something new.
Angela
#sewangelicthreads
#gift #giving #christmas #christmasgift #SweetPea #embroidery #BrotherSewingMachines #machineembroidery #ArtGalleryFabrics #quilting #bag #purse #mugrug #potholder #teatowelholder #home #craft #inthehoop #sewingforthehome